
Most account and rental steps take about five minutes. Instance startup time varies depending on whether the selected image is already cached.
Before You Start
- A Vast.ai account, which is free to create
- At least $5 to add as account credit
- A supported payment method shown on Vast.ai
- An SSH key pair if you plan to connect through a terminal
- A web browser if you plan to use Jupyter
Step 1: Create Your Vast.ai Account
Go to Vast.ai and sign up for a free account.
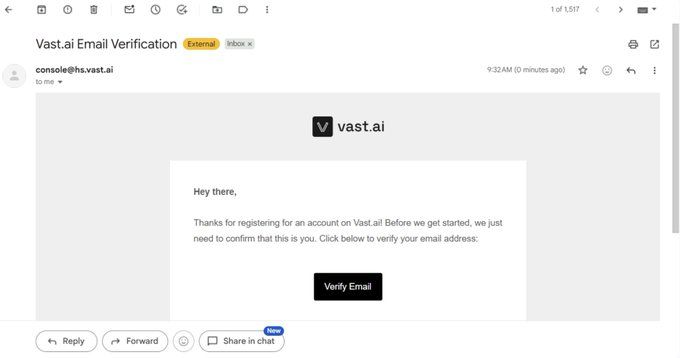
Verify your email address before renting a machine. Check your inbox and spam folder for the verification email. You can resend it from Settings > Resend Verification Email.
vast.ai
Step 2: Add Credit
After logging in:
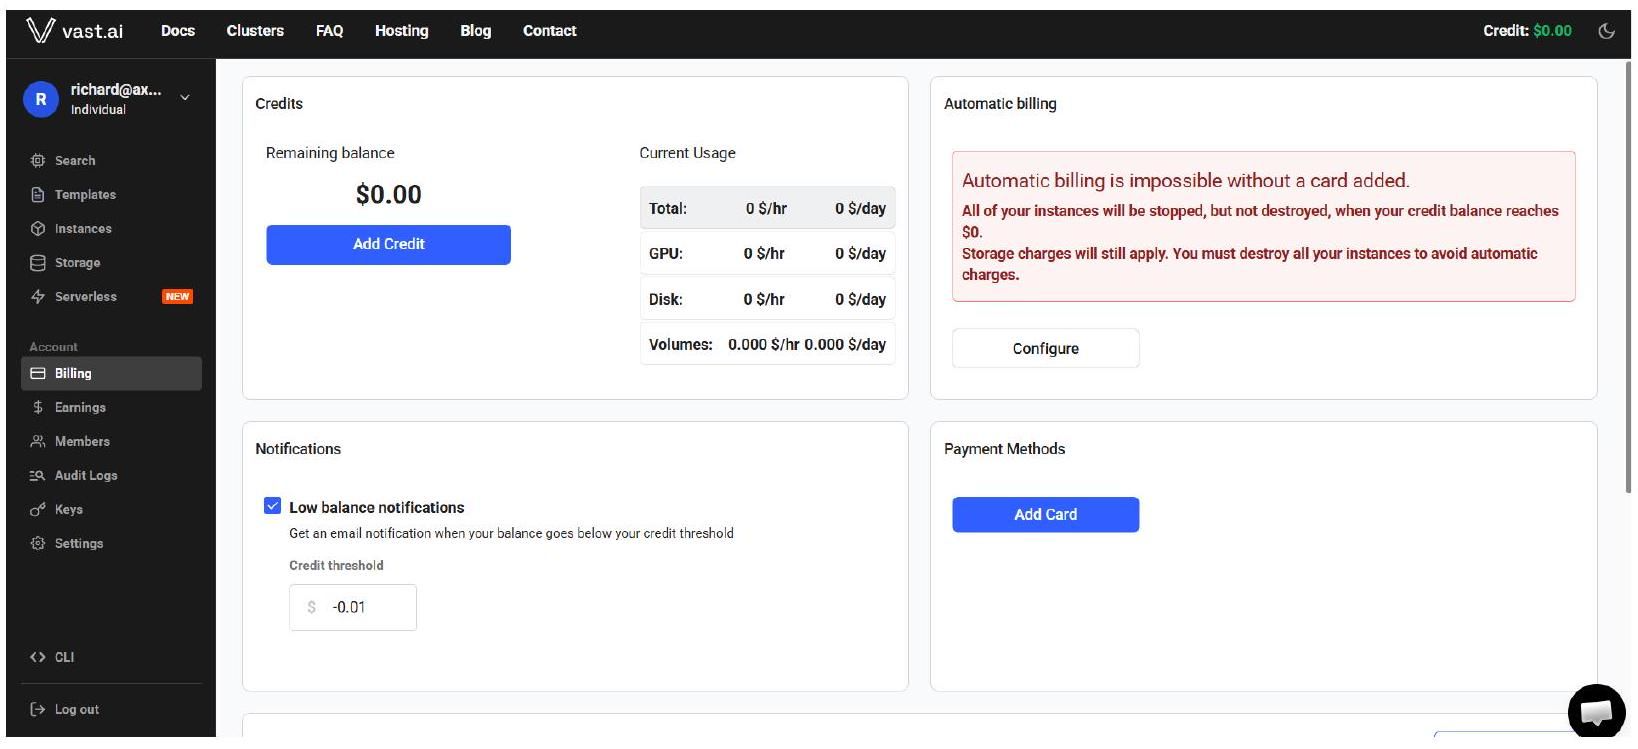
- Select Billing in the left sidebar.
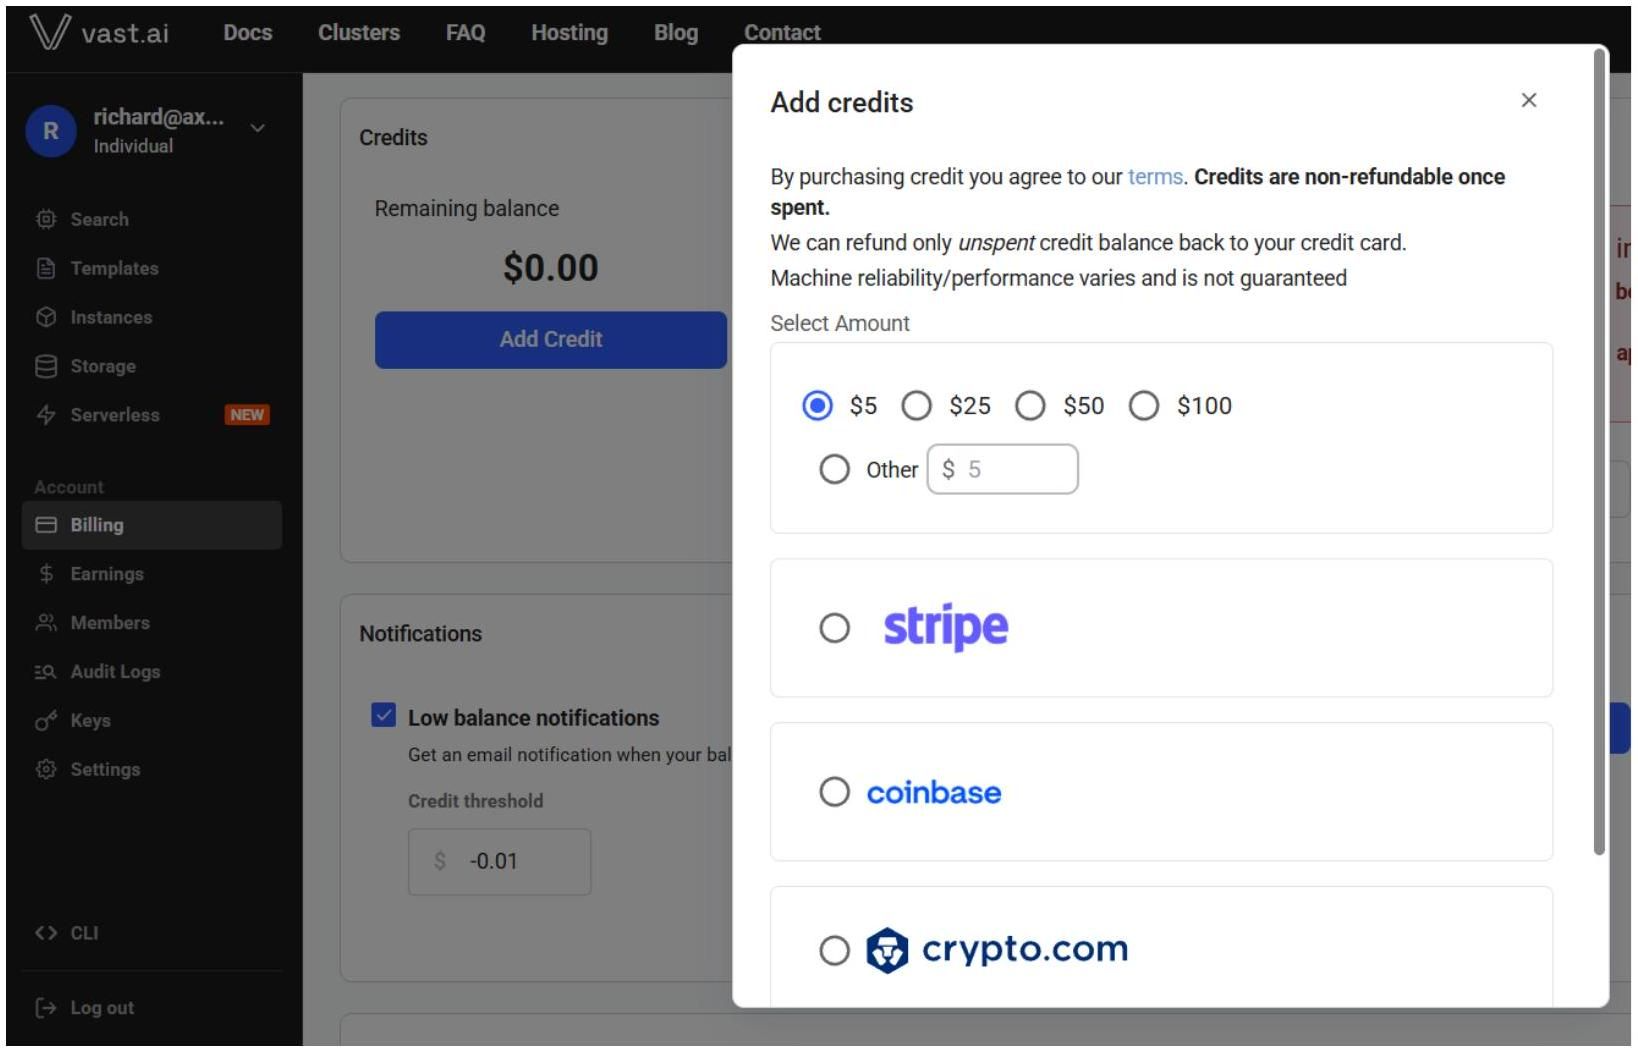
- Select Add Credit.
- Choose one of the payment methods shown on the platform.
- Add at least $\$ 5$. Your balance will appear in the dashboard.
Tip
Enable autobilling in your Billing settings so your card is automatically charged when your balance gets low. This prevents running instances from being interrupted.
Step 3: Set Up Your Connection Method
You can connect to a rented GPU through SSH or Jupyter. Choose the option that fits your experience and workload.
Option A: SSH
SSH is recommended for developers and users who are comfortable working in a terminal.
- Generate an SSH key pair on your local machine if you do not already have one.
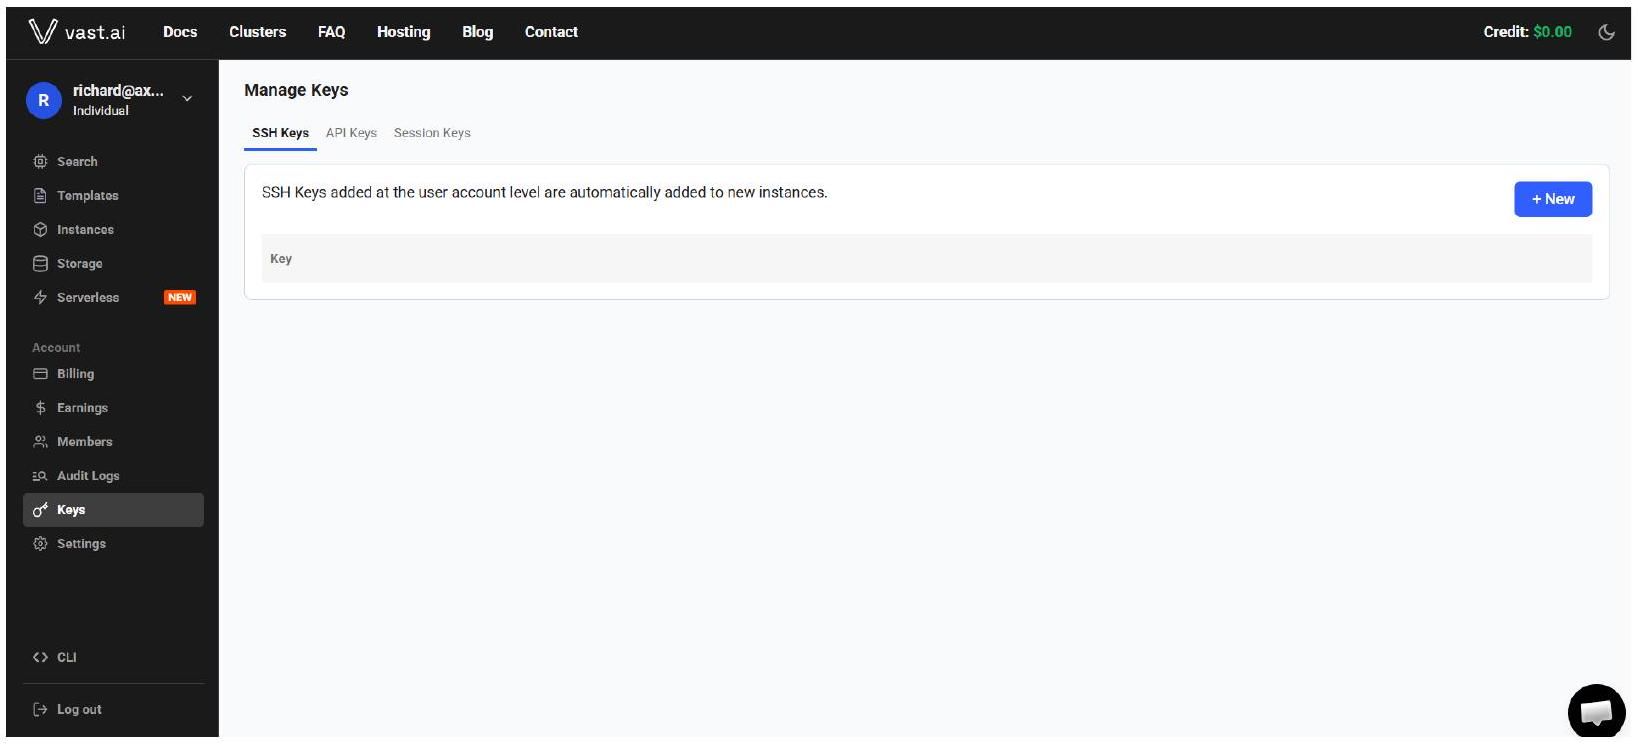
- Open the Keys page in Vast.ai.
- Paste your public key and save it.
Option B: Jupyter (browser-based)
Jupyter runs in your browser. Vast.ai may require a one-time TLS certificate installation for secure access.
Important:
Certificate behaviour differs by operating system. On macOS, the browser may block Jupyter until the certificate is installed and trusted in Keychain Access.
On Windows or Linux, you may see a connection warning and can proceed manually. Installing the certificate removes repeated warnings.
Step 4: Find AxonDAO’s GPUs
Start by browsing Templates and choose a pre-built environment for your workload.
- PyTorch for most machine-learning and AI workloads
- NVIDIA CUDA for custom GPU setups
- TensorFlow for TensorFlow-based workflows
- Ubuntu for a clean environment and full control
Then open Search and use the filters to find available machines:
- GPU type: B200 or RTX PRO 6000
- Location: North America
Look for AxonDAO in the host column. AxonDAO’s machines are hosted in verified U.S. datacenters.


Which GPU Should You Choose?
AxonDAO offers two GPU types on Vast.ai. Choose based on the size and type of workload you plan to run.
NVIDIA B200 | RTX Pro 6000 | |
|---|---|---|
Best for | Large-scale AI training, fine-tuning, inference at scale | Inference, rendering, lighter training, and 3D or creative workloads |
Memory | 192 GB HBM3e | 96 GB GDDR7 |
Architecture | Blackwell (datacenter) | Blackwell (workstation) |
Ideal users | ML engineers, research teams, DeSci orgs with large datasets | Al builders, creative professionals, smaller-scale research |
Not sure? Choose the B200 for large language models, protein folding, genomics, or other memory- and compute-heavy research. Choose the RTX PRO 6000 for inference, rendering, lighter training, and smaller experiments.
Step 5: Rent your GPU
Once you find the right listing:
- Select Rent on the listing.
- Confirm the template selected in Step 4, or choose a different one.
- Set the disk space for the instance.
- Review the price and configuration, then select Rent to confirm.
Important:
Disk space is permanent for the instance. If you run out of space, you may need to create a new instance with a larger disk. Allow enough space for datasets, checkpoints, software, and output files.
The instance will begin starting up. Cached images may launch within seconds. A fresh image pull may take 10 to 60 minutes. Check the instance status column for progress.
Tip:
Reserved instances may reduce costs for longer projects. Review the current Vast.ai pricing and availability before choosing this option.
Step 6: Connect and Start Working
When the instance status changes to Running:
- For Jupyter, select Open to launch Jupyter in your browser.
- For SSH, select the SSH key icon, copy the command shown, and paste it into your terminal.
You can now run your workload, train a model, or prepare your research environment.
Step 7: When You’re Done
- Stop the instance to pause GPU billing. Storage charges may continue while the instance is stopped. Another user may rent the GPU, which means you may have to wait before restarting it.
- Delete the instance to stop all charges associated with it. Save or download any data you need before deleting the instance.
Need Help?
For platform issues, use Vast.ai support or its official Discord. For help finding AxonDAO listings, contact @AxonDAO on X or join the AxonDAO Discord. For direct AxonOS access, visit axondao.io/axonos.