
Connect your wallet, add compute credits, choose the GPU profile that fits your workload, and launch a preloaded environment without installing the research stack yourself.
This guide takes you through your first hosted AxonOS session, from getting connected to saving your work and ending the session correctly.
What you need before you start
Before opening AxonOS, have:
- A modern browser such as Chrome, Firefox, Safari, or Edge
- An EVM-compatible wallet such as MetaMask
- ETH or USDC for compute credits, or AXGT if you want to use the supported AXGT payment route
AXGT is not required to use AxonOS. Eligible AXGT balances can reduce the ETH price under the current holder-discount structure. For the full pricing and eligibility rules, see the AXGT Discount Guide.
Step 1: Open AxonOS and connect your wallet
Go to app.axonos.io and connect your wallet. AxonOS will ask you to sign a one-time message to prove that you control the wallet.
The signature does not cost gas and does not authorize a payment transaction. No separate AxonOS account or password is required.
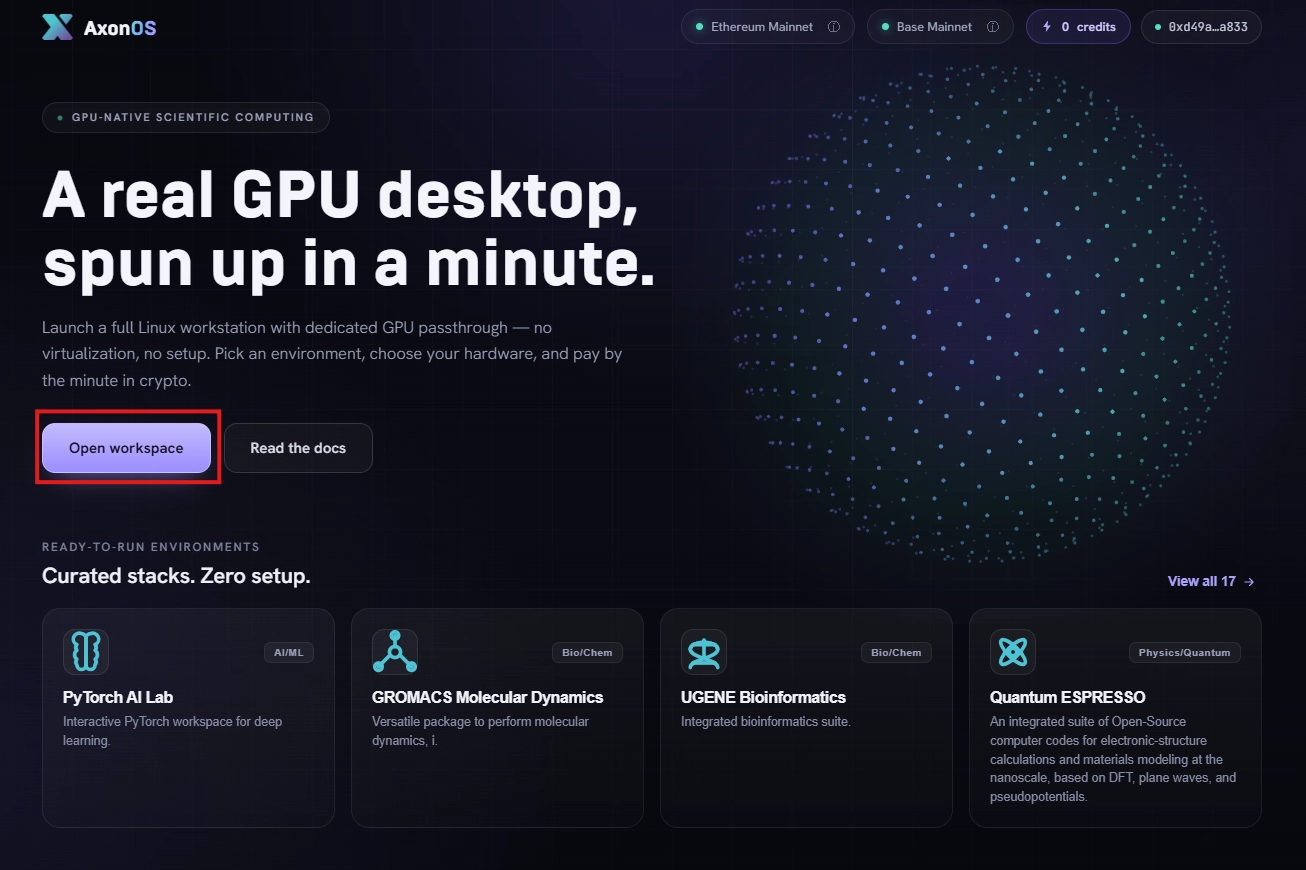
Click on “Open Workspace” to top up or create a session.
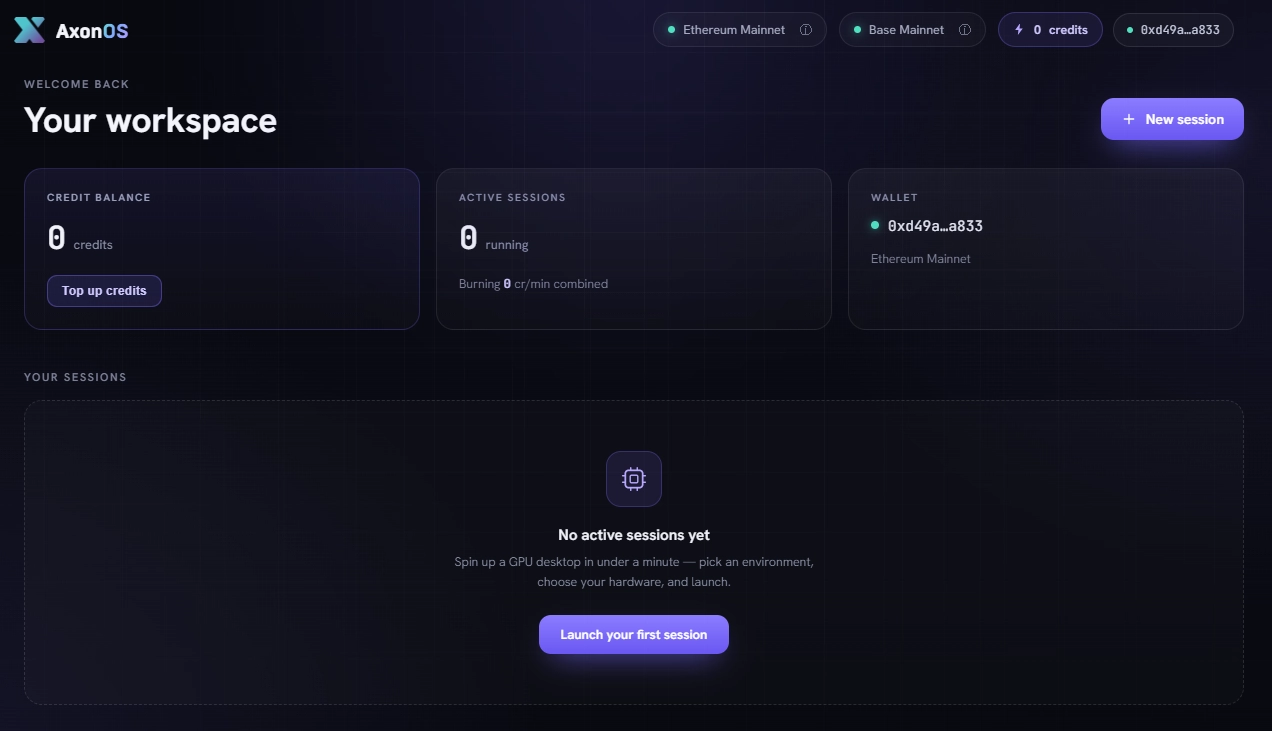
Step 2: Add compute credits
AxonOS is pay-as-you-go. Compute credits are prepaid and measured in minutes.
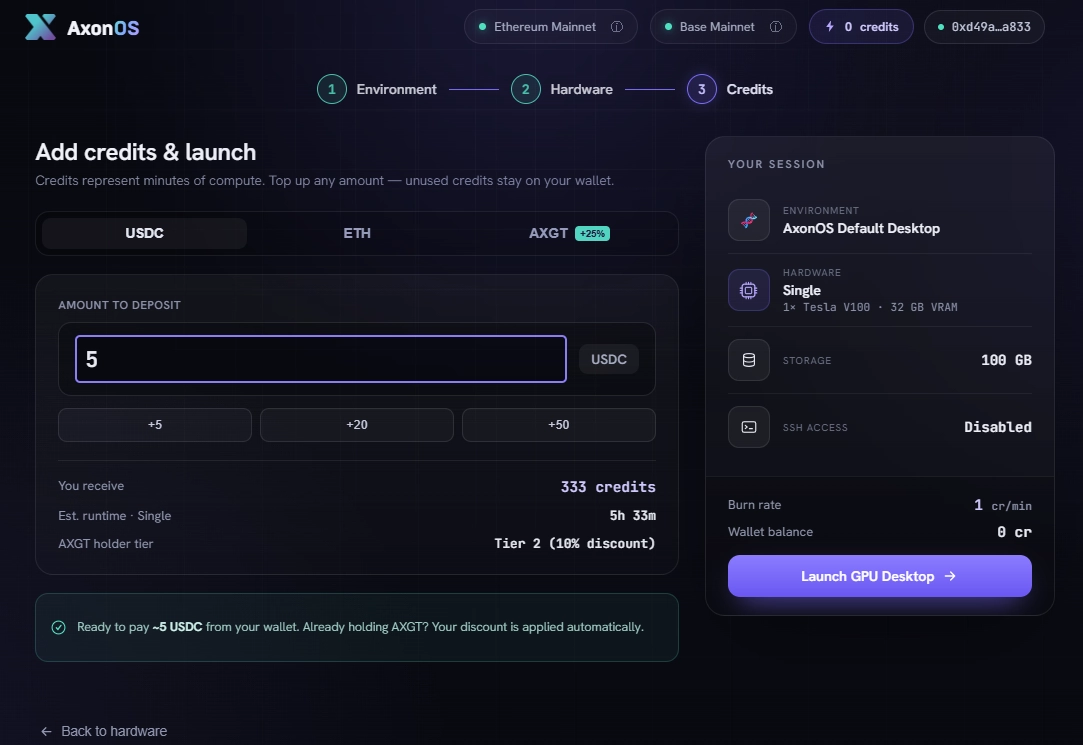
If your balance is too low to start a session, the payment panel lets you top up using a supported payment route:
- USDC
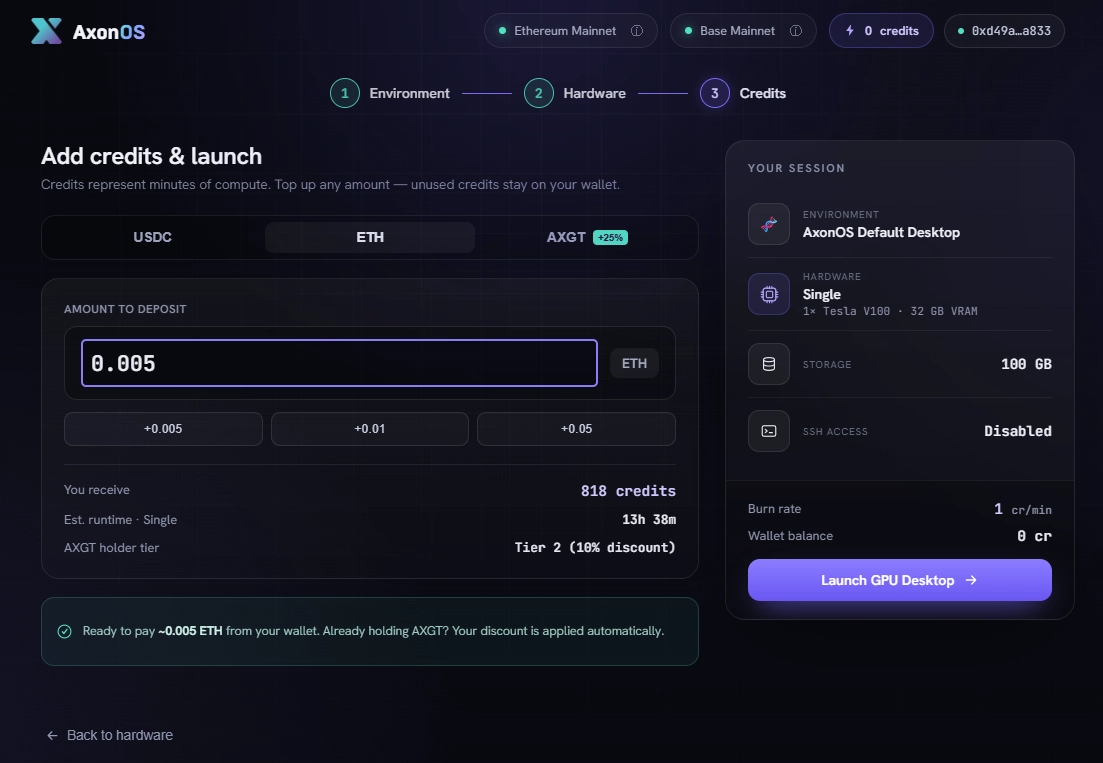
- ETH
- AXGT
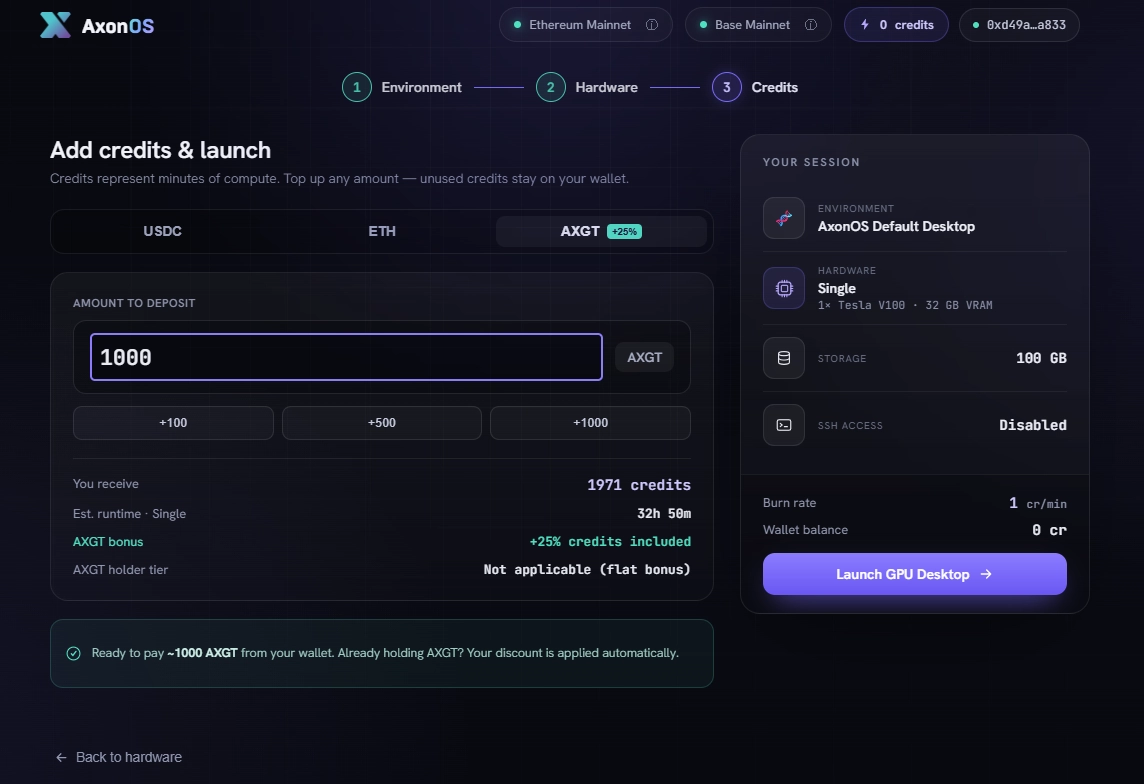
The exact amount of compute you receive, minimums, and any applicable pricing benefits are shown in AxonOS before you pay. Current rates and promotions can change, so use the live quote rather than relying on a fixed rate published elsewhere
After payment, use Top up Credit when prompted so AxonOS can verify the transaction and add the credits to your balance.
Step 3: Choose your environment and hardware
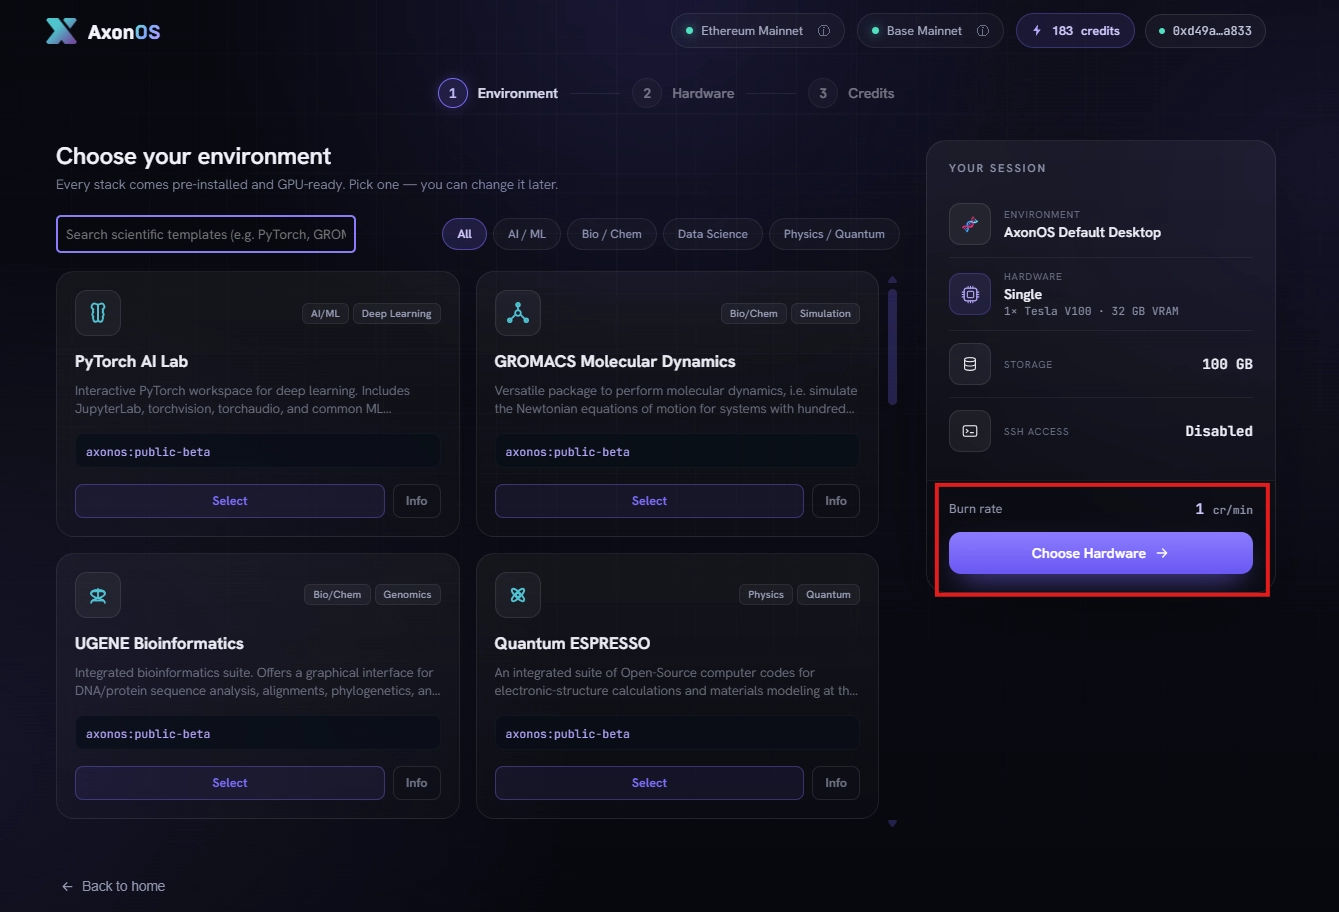
The environment comes with scientific and development tools and every stack comes pre-installed and GPU-ready. Pick the one that suites your work and you can also change it later.
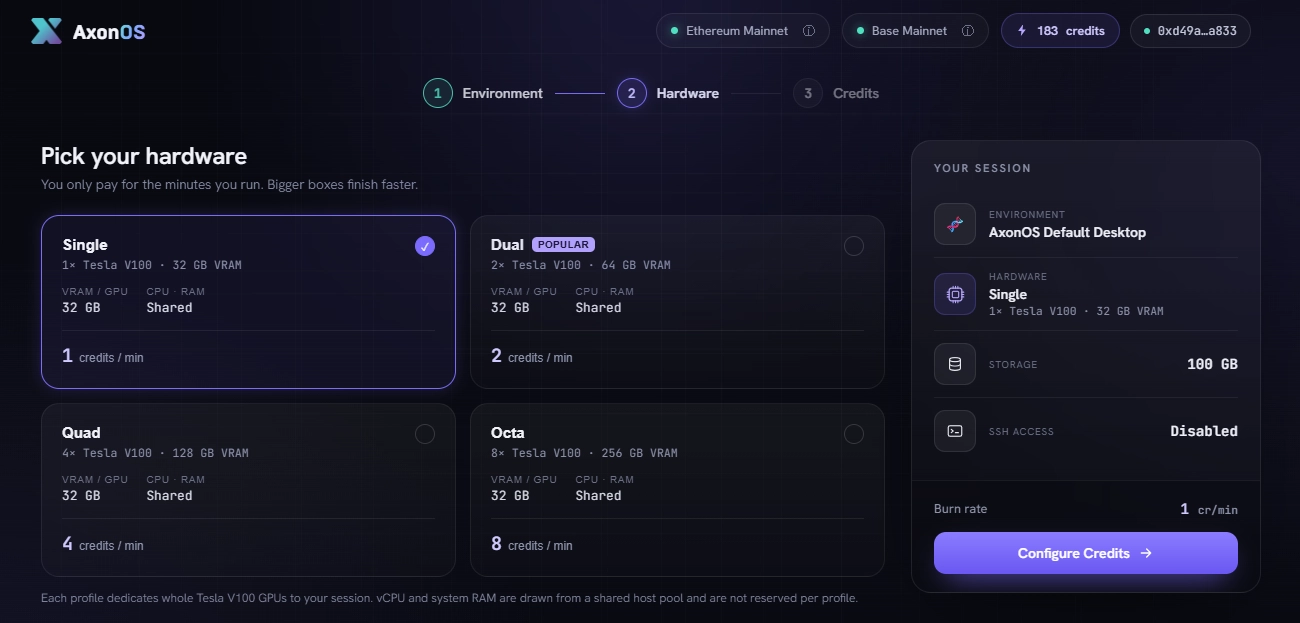
AxonOS currently offers four hardware options. Each uses a different number of GPUs, so the rate at which your compute credits are consumed changes with the profile.
Profile | GPUs | Credit burn | Good for |
|---|---|---|---|
Single | 1 | 1× | Notebooks, analysis, light visualisation |
Medium | 2 | 2× | Multi-GPU experiments, larger models |
Large | 4 | 4× | Training and larger simulations |
Max | 8 | 8× | Heavy multi-GPU workloads |
For your first session, choose the smallest profile that comfortably fits the workload. You can move to a larger profile when your work requires additional GPU capacity.
If a requested profile is temporarily unavailable, AxonOS places the request in a queue and shows your position until enough GPUs become available.
Step 4: Launch your desktop
Once you have enough credits and have selected a profile, click Launch GPU-Native Desktop.
AxonOS opens a full XFCE Linux desktop directly in your browser. The environment comes with scientific and development tools including JupyterLab, RStudio, Spyder, GROMACS, Nextflow, QGIS, UGENE, Fiji/ImageJ, and the AxonOS AI assistant.
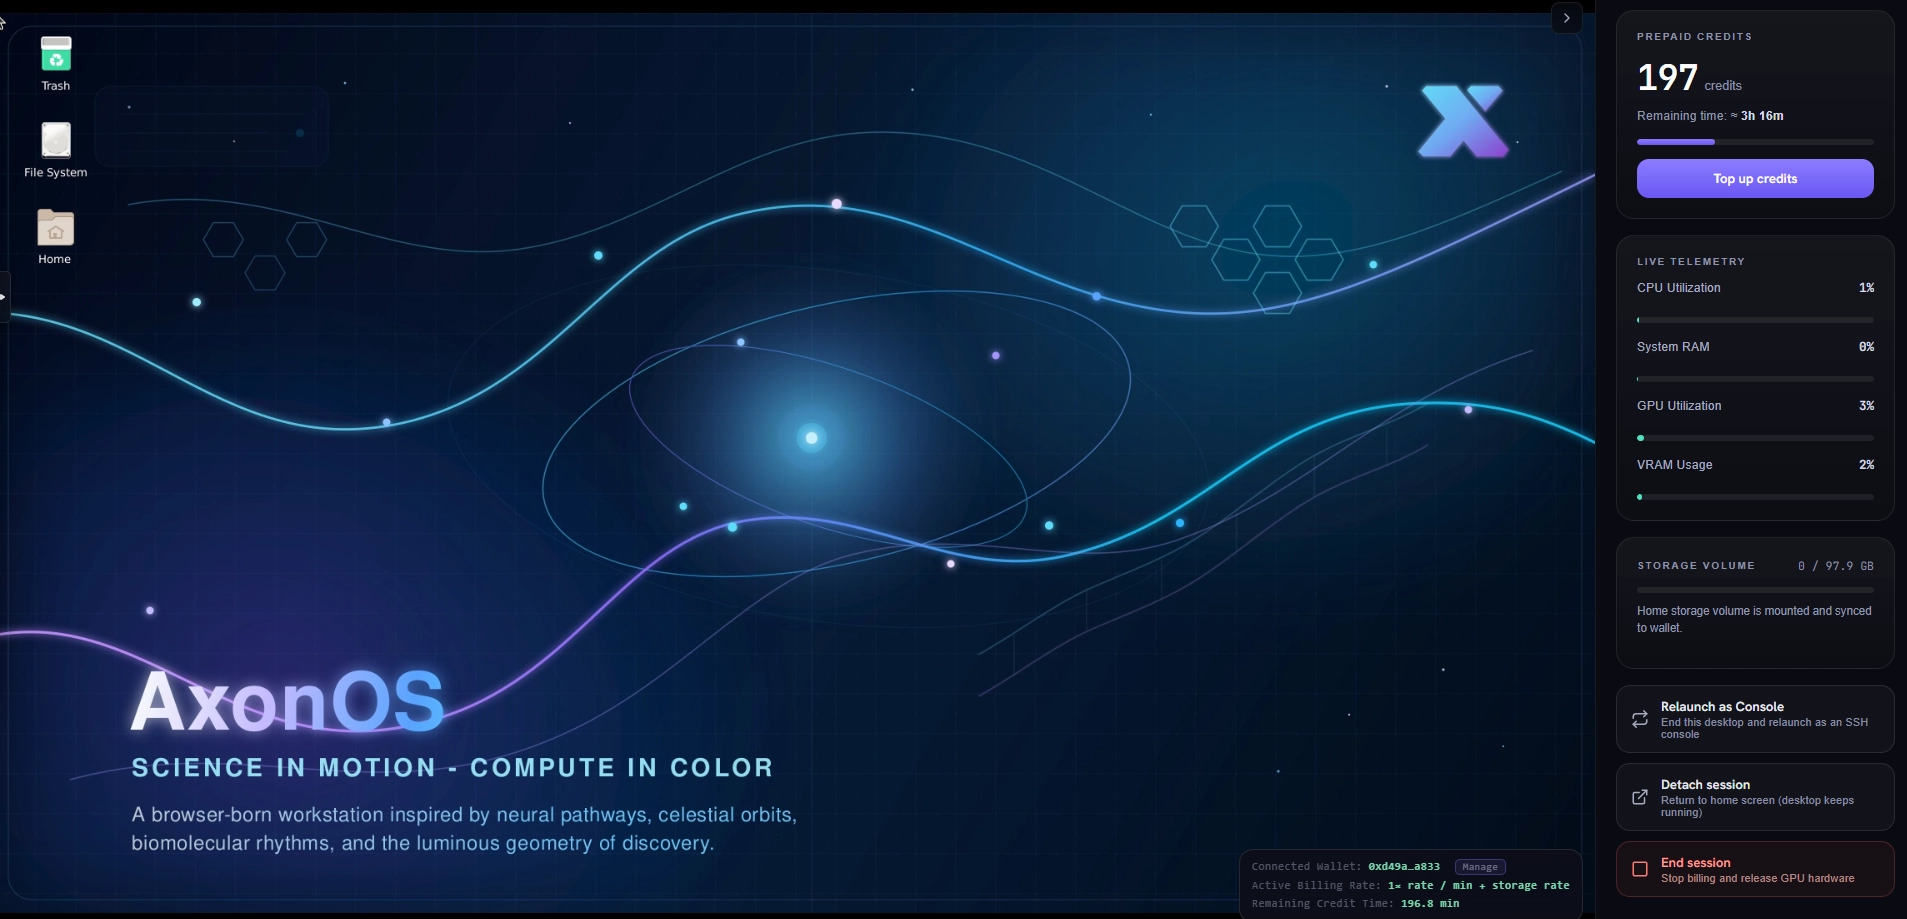
You do not need to install these tools before starting your first workload.
Step 5: Run a quick first check
For a simple first command, right-click the desktop and select Open Terminal Here. Then run:
ollama launch opencode
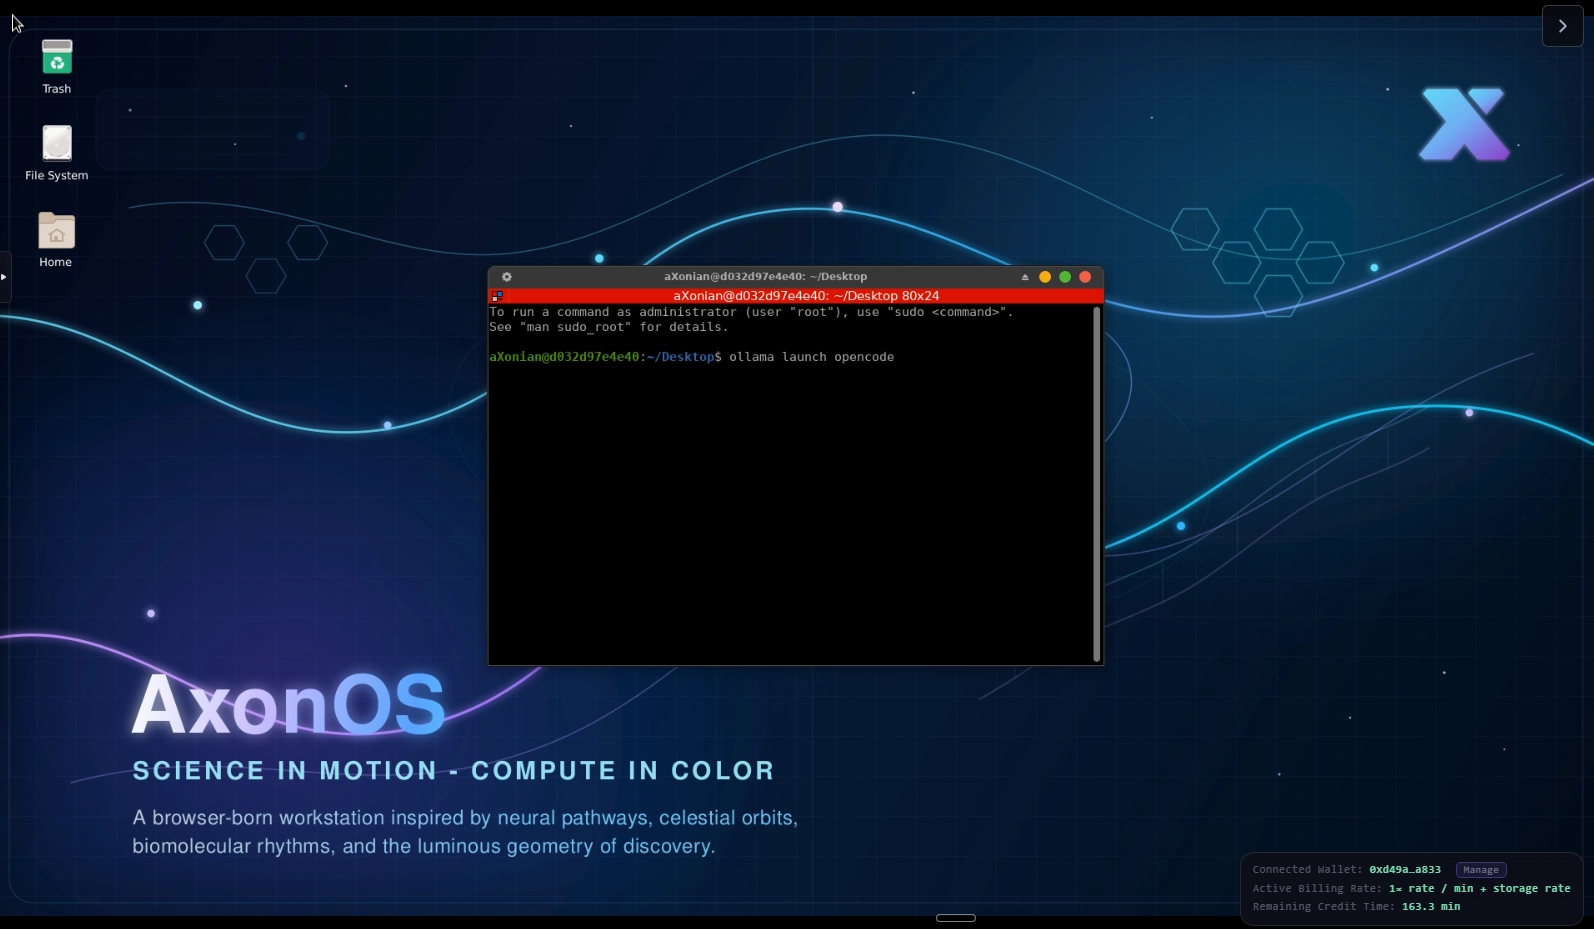
This starts OpenCode, a terminal-based coding assistant configured to use Ollama models, and lets you use local AI models running on AxonOS GPUs.
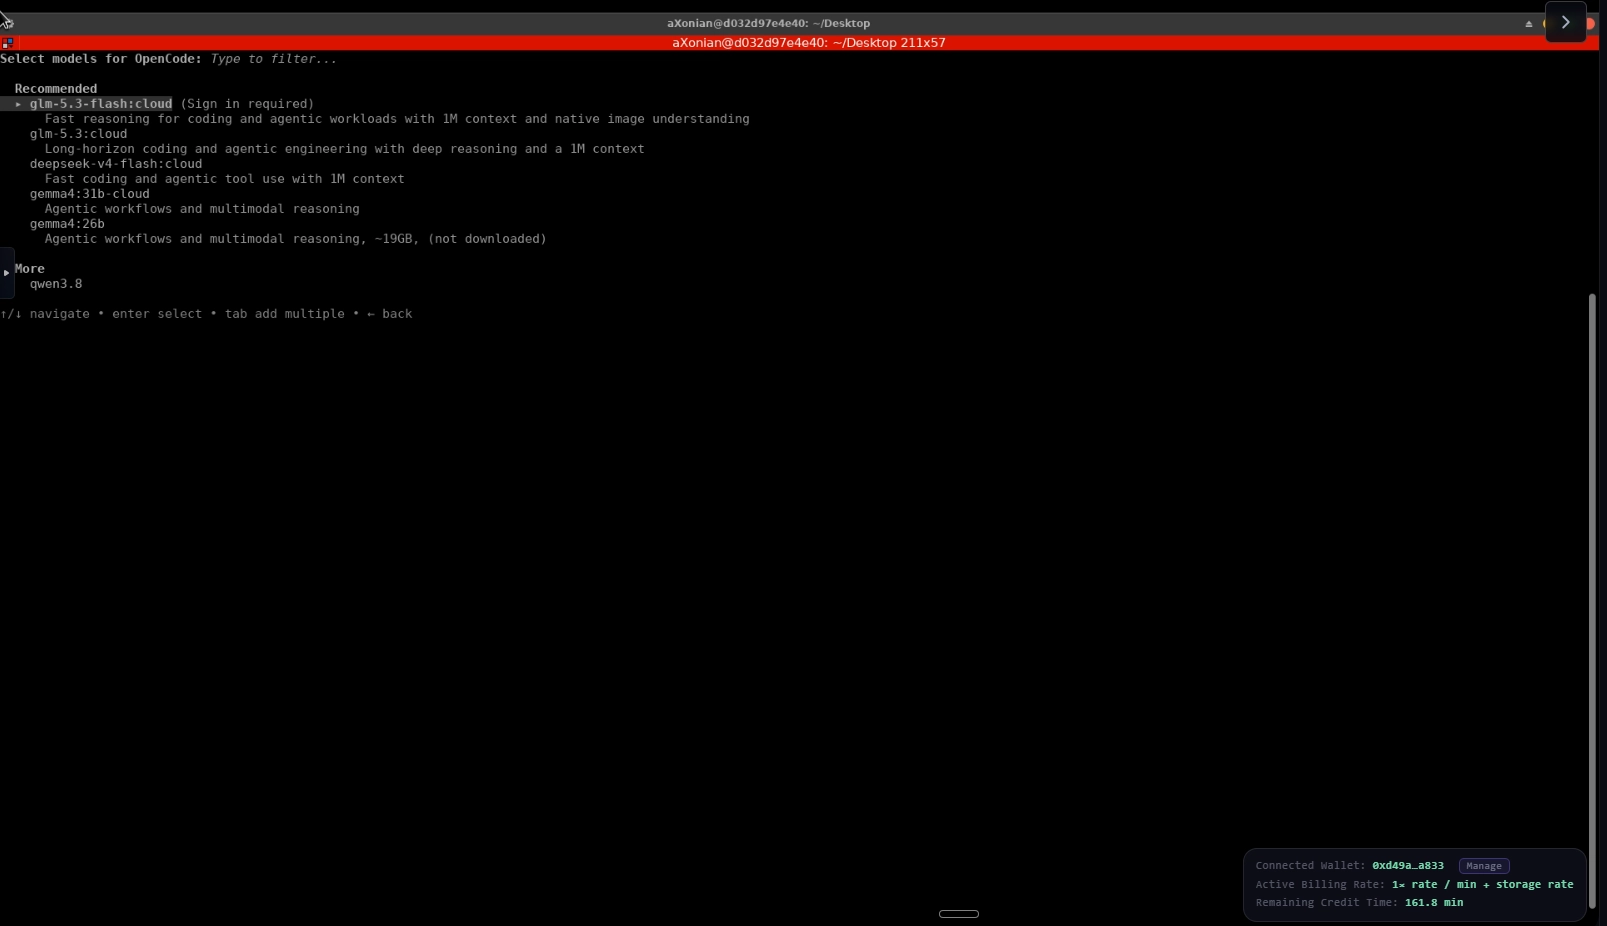
Choose and option from the model-selection screen, and then press Enter.
Step 6: Save your work
Your AxonOS home folder is persistent.
Files stored there are saved to your personal persistent volume and can be available again when you return in a later session.
That means you do not need to keep a GPU session running simply to preserve your project files.
For files you need outside AxonOS, use the available file-transfer or export method documented in the Files & Persistent Storage guide.
Step 7: End the session correctly
This part matters because Detach and End Session do different things.
Action | What happens |
|---|---|
Detach | Leaves the desktop running. You return to the AxonOS home page, but GPU time and credits continue to be used. |
End Session | Stops the desktop, releases the GPUs, stops compute billing, and saves your files to persistent storage. |
Close the tab | Releases the session in the same way as End Session. |
If you are finished working, use End Session.
Do not use Detach as a pause button. Detaching keeps the GPU session alive and credits continue to count down.
If your credits run out
If your balance reaches zero during a session, AxonOS currently provides a grace period of roughly two hours. The desktop remains available with billing paused so you can top up.
If the grace period expires, the GPU session shuts down and the GPUs are released, but your files remain saved. Top up and relaunch to continue with your persistent volume mounted again.
Start your first AxonOS session
Open app.axonos.io, connect your wallet, add compute credits, choose the profile that fits your workload, and launch your desktop.